Thursday, March 20, 2008

How many ways are there to display ACEOs?

ACEOs are affordable and collectible miniature works of art. The only specification is the size: 3.5"x2.5" or 8.9cm x 6.4cm.

As a seller and also a collector, I've always looked for different ways to display these little pieces of art. I want to list as many different ways of displaying them, so that other collectors and potential buyers can see how fun it can be to collect and display them.

I have asked my art friends to provide their own pictures and links and hope you enjoy both the ACEOs and the different ways to display them. I will keep adding to this post rather than create new ones, so I can use one link in my listings.
My thanks to all the wonderful art friends who have been so willing to share their ideas. Clicking on the pictures will take you to the contributor's Etsy shop.


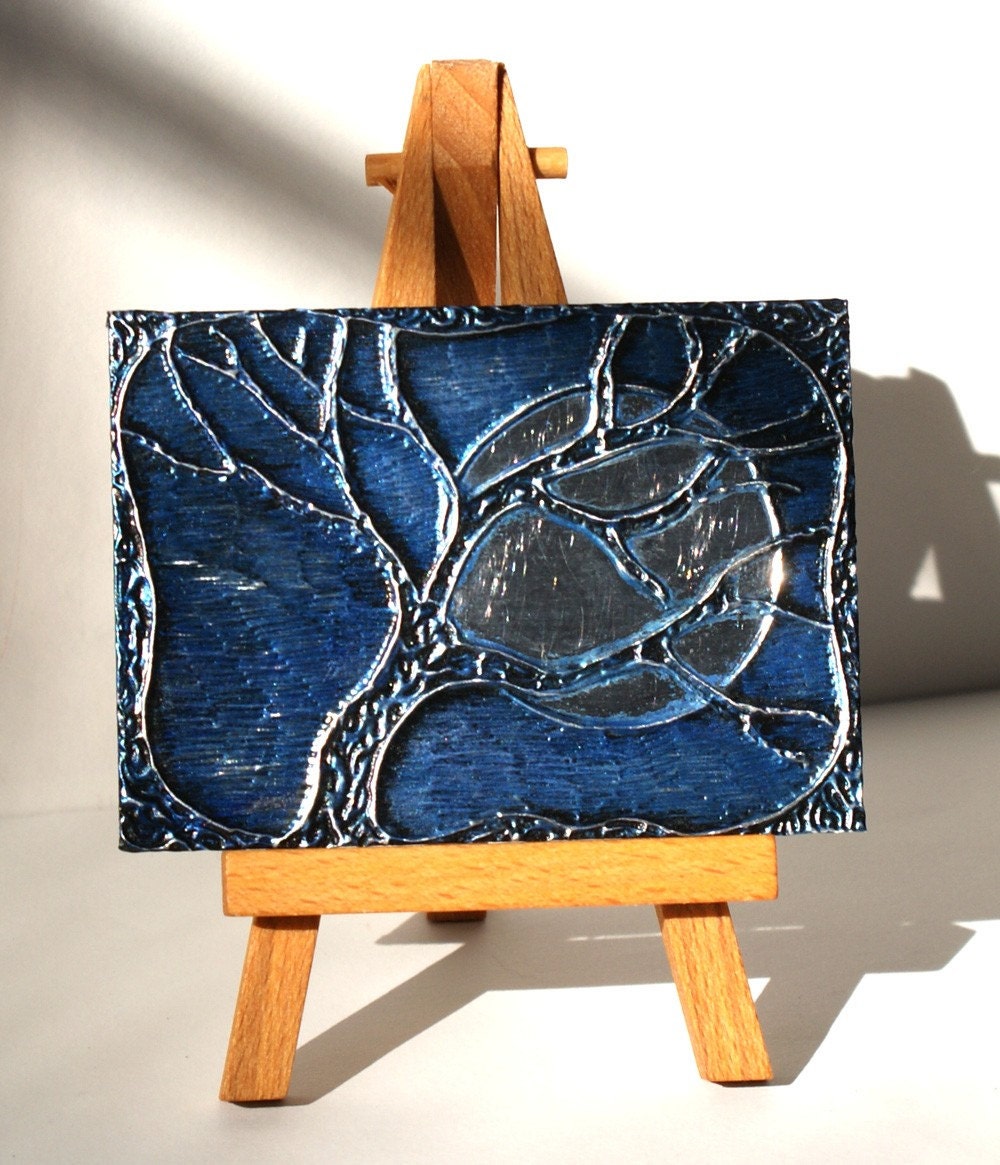
1. Display ACEOs on a tiny easel - from martaharvey


2. Create a mini ACEO galery - from readingsully2


3. Display ACEOs in a painted and distressed wooden frame - from Vintagesnapsandscrap


4. Use magnets to display your ACEOs on your refrigerator - from readingsully2
(you can buy a magnetic frame or make your own by attaching a magnet to the back of an ACEO sleeve)


5. Use a mat and frame to display multiple ACEOs - from arteest


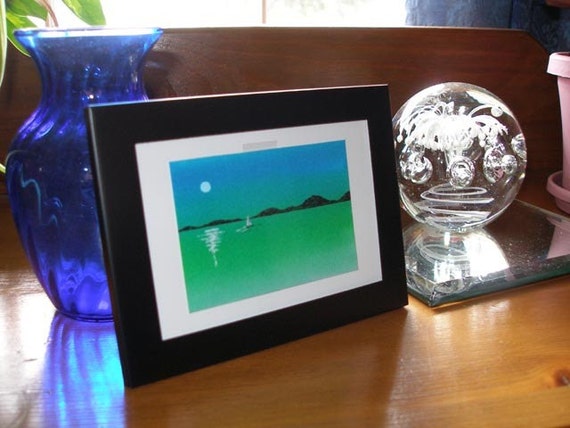
6. Display on a windowsill - from chimeracreation


7. Frame and display on the wall with other art - from chimeracreation


8. Place the ACEOs in sleeves and pin the sleeves to a wall or corkboard - from chimeracreation


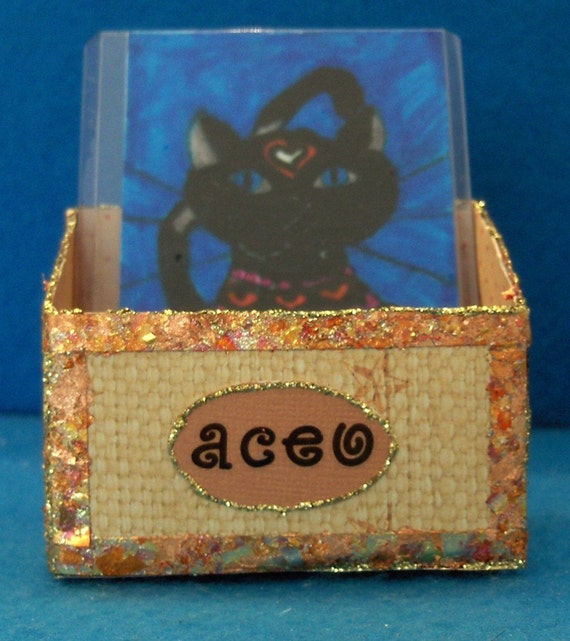
9. Display in a custom made ACEO box - from readingsully2


10. Display your collection in a binder - from laurali
(You can get 9-pocket acid-free binder sheets from comic book shops)


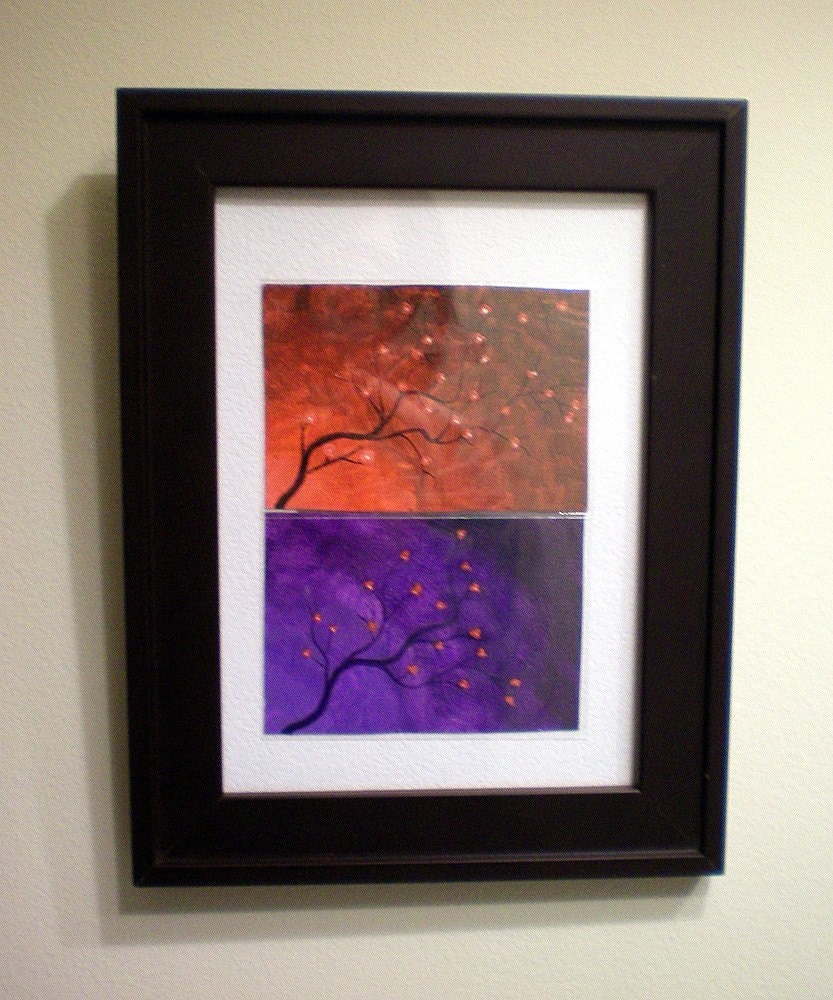
11. Mat and frame the ACEO in a larger frame - from MoranArtwork


12. Hang on a line with clothes pins - from LittleGreenJellyBean


13. Display in an unlined journal using photo corners - from LittleGreenJellyBean


14.  Get a mat to fit any frame and display a set of ACEOs - from MartaHarvey


Tuesday, February 26, 2008

Winter Trees with Watercolor Background

This is my progress through an 8"x10" piece similar to the winter tree ATCs you've seen me do.

Answers to some of the questions I received from you:

  • PAPER: this was done on Arches watercolor paper - rough - 140lb
  • PEN: I used a Koh-i-noor Rapidograph .30 size pen for the pen & ink work
  • TIME: it took me 9 hours to create this piece

My notes: I should have used a smoother paper since the rough watercolor paper was a bit too rough for the pen and ink work. As for the size of the pen, I could have used a larger size for the thicker branches of the trees (or even a brush)... just didn't feel like it - go figure! As for time, this was the first time I actually jotted down how long it took me to create a piece... it was quite an eye opener as I tend to lose track of time when I'm creating; I didn't think it would take this long!


If you have any questions or comments, please feel free to email me.


This is the watercolor background that I painted. I wanted a lot of different colors, but wanted them pretty light as I will do a lot of pen and ink work over the watercolors and don't want the overall effect to be too dark. We'll see how it goes :)


I've added the frame of the picture (8"x10") and started drawing in the trees.


I've started going over the trees with pen and ink. The pencil marks are obviously just a guide for me since my trees seem to take a life of their own and most of the pencil branches are soon forgotten.


Most of the second tree is now done.


All three trees are now finished.


I have started cross-hatching with the outside circle and will work towards the inner circle so it is easier to see the pencil lines. This darker circle has four layers: horizontal, vertical, and diagonal - both ways.


This next circle is lighter as it only has 3 layers: vertical, and diagonal - both ways.

The next circle has only two layers - diagonal from left to right, and right to left.

And this is the finished piece!! The last circle only has one layer - diagonal from left to right.