
I love the look and texture of embossed metal. I started making these ACEOs a while back and always seem to come back to them from time to time. A few people have asked how they were made, so here are step-by-step instructions. Like anything else, it is fun to try different things, so don't be afraid to come up with your own variations... that's what makes it so much fun! I hope you enjoy the instructions and making your own metal embossed ACEOs.
Materials:
- metal tape or metal sheet
- embossing pen (or ball point pen which doesn't write anymore) - picture in step 2
- back of a mouse pad, or piece of foam - picture in step 2
- paper (for the back - size of an ACEO 2.5"x3.5")
- acrylics (you can also use alcohol ink) - any color and black
- old brush (to apply acrylics)
- paper towels - to rub off some of the paint
- scissors
1. Cut metal a bit larger than 2.5"x3.5" - you want to leave a border around the ACEO so that you can fold it over and hold the paper in place - I'd say at least 1/4"
2. Turn it over and draw your design in the back adhesive paper if you are using metal tape, or draw on tracing paper if you are using metal sheeting. You want to have a thin but strong paper so that when you trace and put pressure on it, it won't tear completely.

3. Place the metal on the foam with the design facing you. With the embossing tool, go over the lines of your design putting slight pressure, but not enough to tear your metal.


4. Turn the metal right side up and placing your ACEO on a flat surface (off of the foam) trace the outside of the embossed lines - this will flatten the background and make the embossed lines stand out more


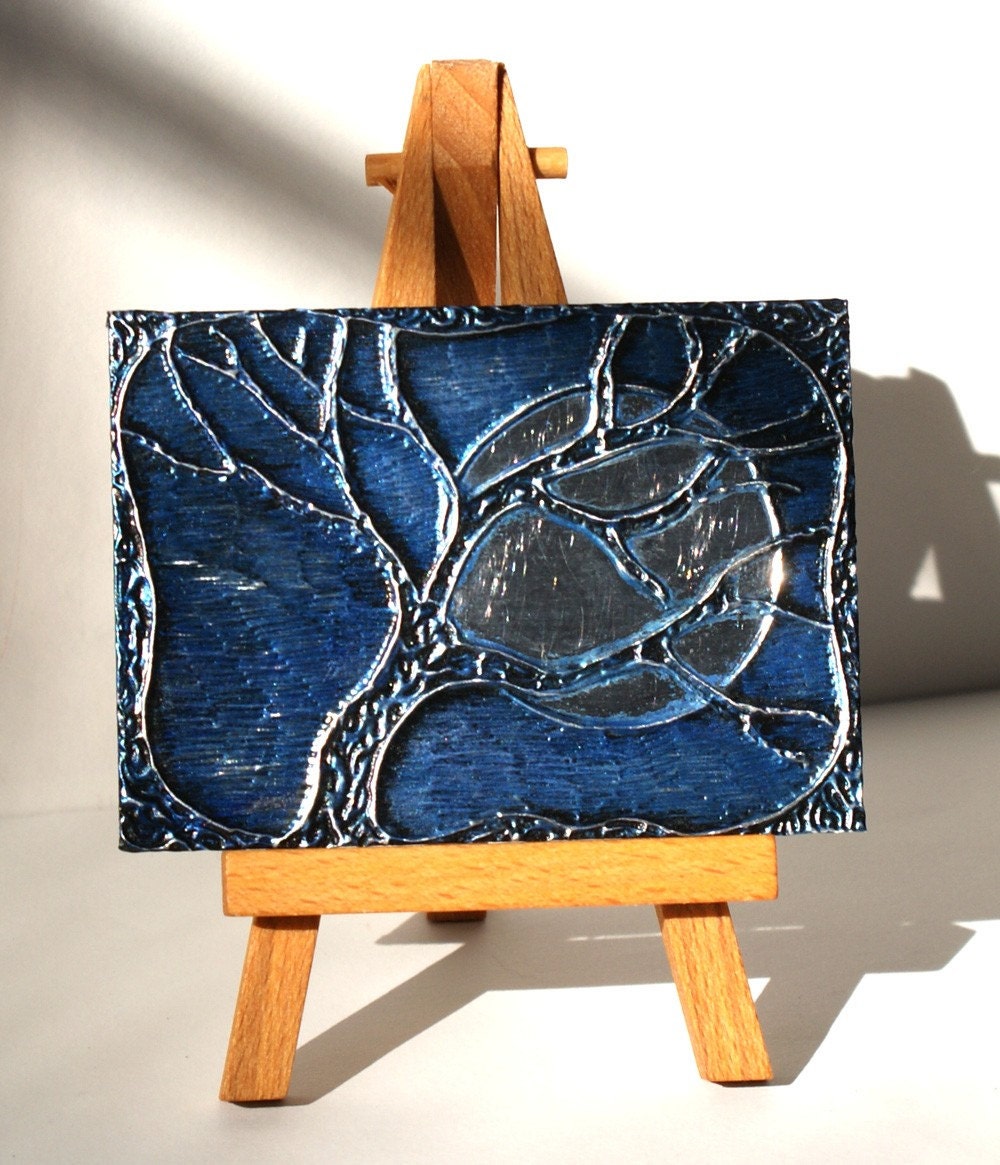
5. Place the metal on the foam again, with the back facing you. Emboss your design details. In this ACEO I embossed the tree bark and continued all around the edges.

6. Turn over your ACEO right side up on a flat surface and go around the embossed details you just made to make them stand out more. This may be a matter of going back and forth between step 5 and 6, until you are satisfied with the results.

7. Decide on what to do with the background. On this ACEO, I decided to leave the moon alone and do hatching on the background.


8. With the acrylic color you decided on, go over the whole ACEO. Let it dry for a minute or two and then rub off any excess - be careful when rubbing off, you don't want to do it too hard or you may damage the embossing. You can also use alcohol inks instead, it will give the ACEO a different look - no rubbing off needed..
9. Let dry for a few hours. If you are impatient and go to the next step, most of you paint will come off (I'm talking from experience :) )

10. Go over the entire piece with black acrylic paint. Let dry for a minute and then rub off with a paper towel until you are satisfied with the results. Let dry.

11. Work on any other details - I clear the moon with alcohol and a Q-tip, and lightly sand over the raised areas to make them stand out more.

12. Cut each of the corners close to the edge of your ACEO - this is so it will be easier to fold the corners.
13. Place the ACEO on the foam, right side down. Peel off the backing paper and place the ACEO backing on your embossed metal.
14. One side at a time, gently fold the metal over the ACEO paper. The foam is underneath, so you can put a bit of pressure, but not too much or you may lose some of the embossed detail.
15. YOU'RE DONE! You can now display your metal ACEO :)
Gallery:

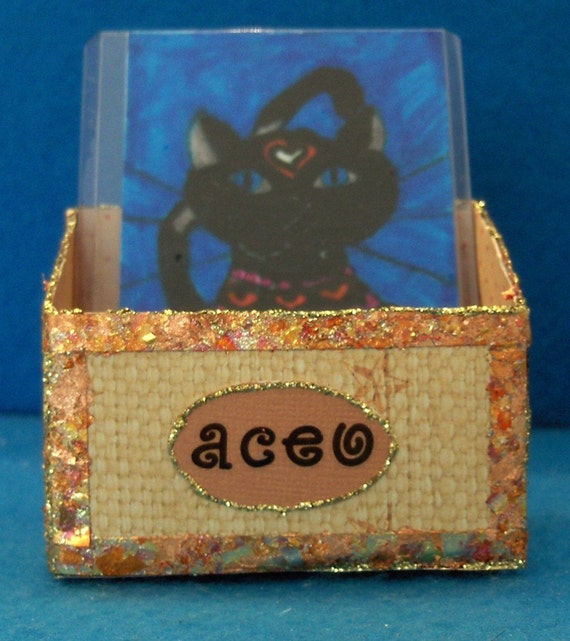
This Zentangle ACEO was painted with alcohol inks, then the background cleared so the zentangle would stand out more.


